Skip to content

05Sector

Medical & Dental Office Construction — GTA & Ontario

Operatory rough-ins, lead-lined rooms and infection-control finishes.

Medical build-outs

Clinics are equipment buildings. The chair, the imaging unit, the sterilization line and the vacuum pump decide where the walls go — not the other way around. We build dental practices, medical clinics and specialist offices across the GTA, from bare second-floor shells and from tired suites that need to keep seeing patients while we work.

Brampton-based, working across the GTA and the rest of Ontario. One contract, one schedule, one crew accountable from bare shell to the day you open.

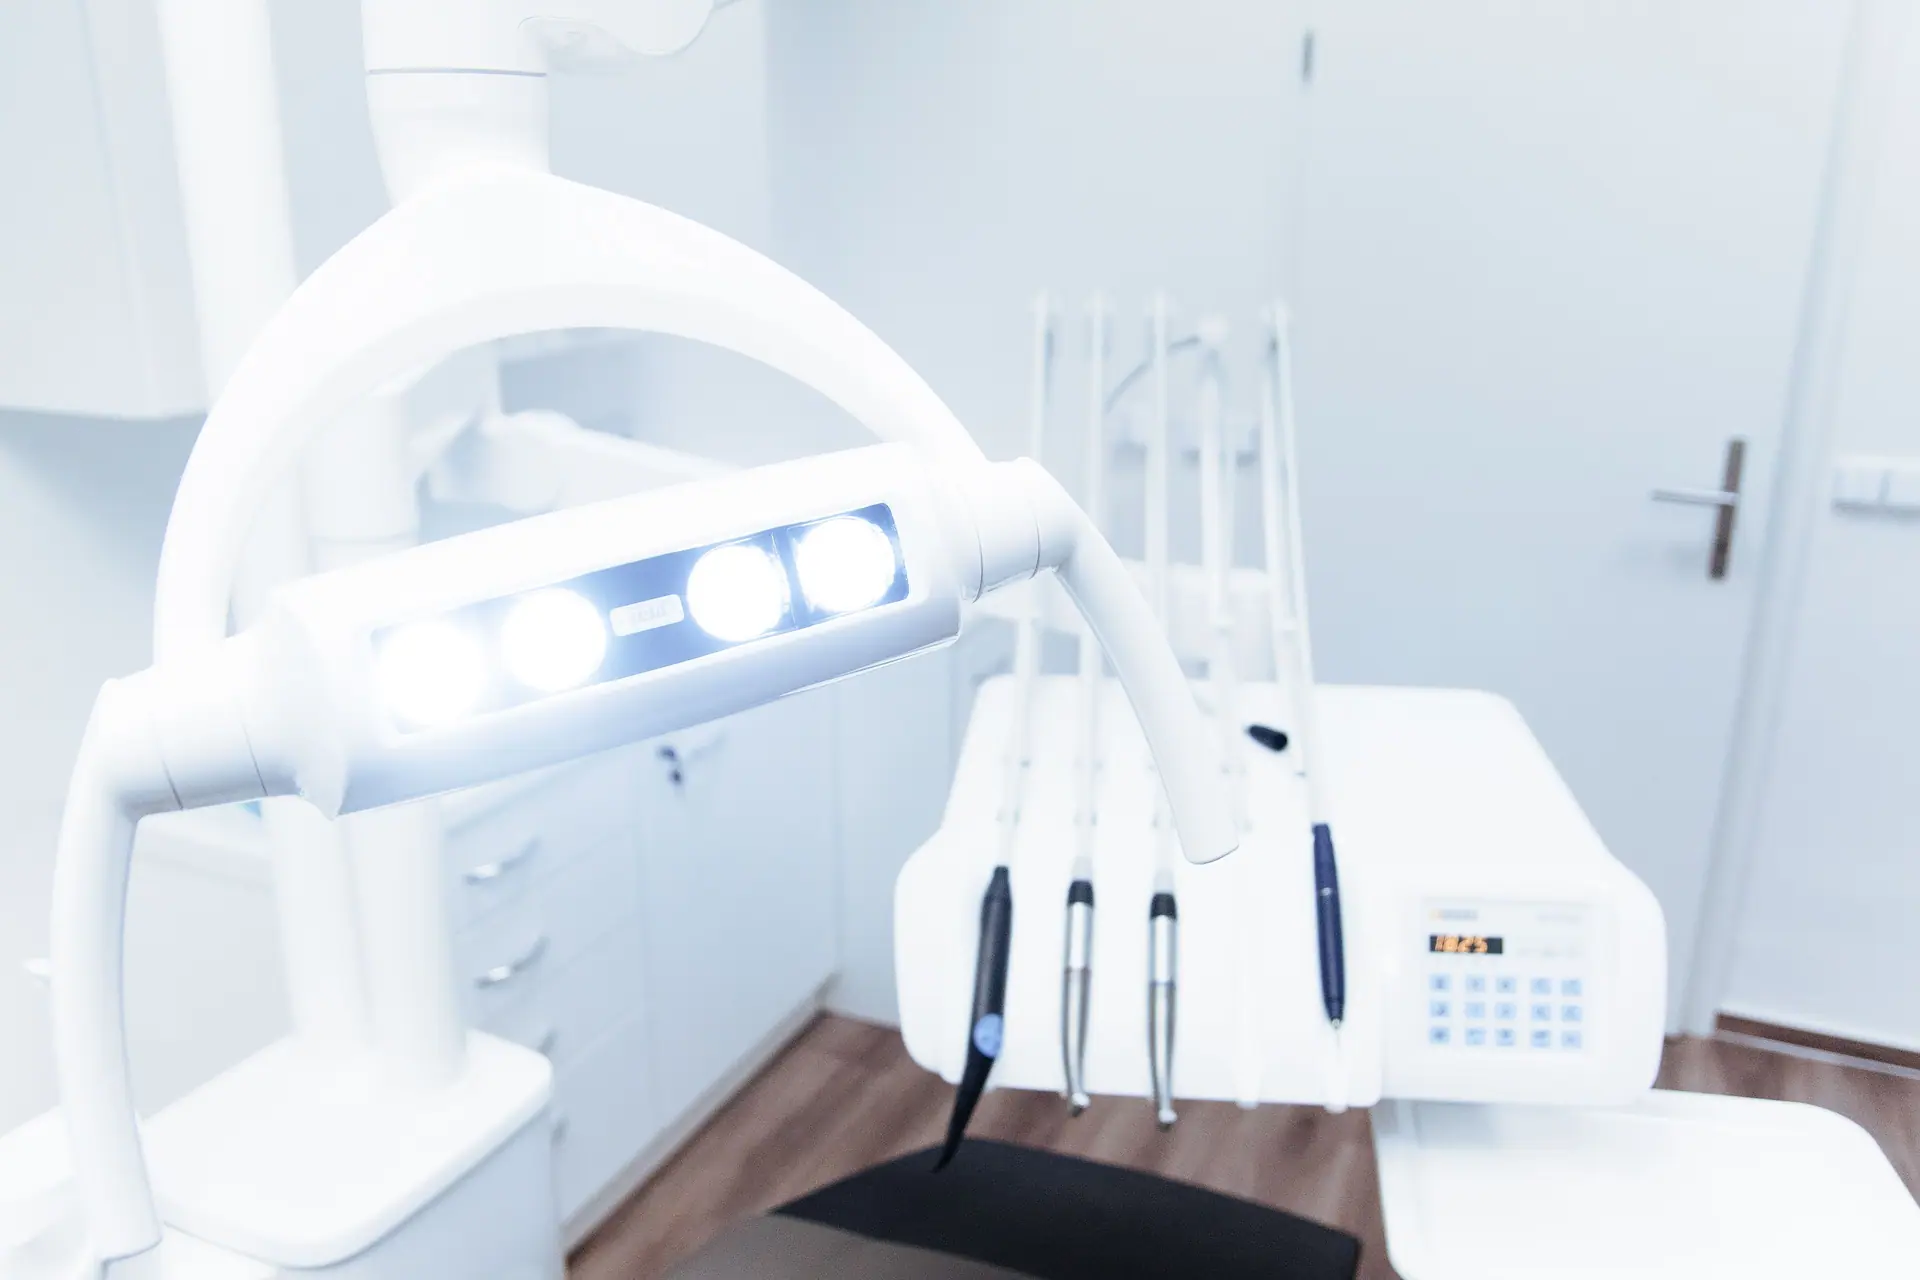
A finished medical interior built by GIRDER in Ontario
Photo: Daniel Frank / Pexels

What we solve for you

The things that go wrong in these builds

Every one of these has cost an owner somewhere a delayed opening. We plan for them before the first wall goes up.

01

Operatory rough-ins built to the equipment schedule

Every chair comes with a manufacturer’s rough-in drawing giving exact positions for water, drain, vacuum, air, power and data. We build to that schedule, confirmed with your equipment supplier, before a stud goes up. Designers who have not done a clinic before routinely draw beautiful operatories with no chase to serve them, and fixing that after the slab is poured is not a change order — it is a rebuild.

02

Vacuum, compressed air and where the noise lives

A central vacuum and a compressor need a room that is ventilated, drained and far enough from the operatories that nobody hears them through a wall. Line routing wants one accessible chase, not runs buried behind six different rooms. Plan the chase properly and servicing the equipment stays a ten-minute job for the next twenty years.

03

Imaging, shielding and where that room goes

Shielding comes out of a radiation-protection assessment, not a rule of thumb — a CBCT or panoramic unit is a very different problem from a wall-mounted intraoral. We place imaging on an interior wall wherever possible, because lead lining an interior partition is straightforward and lining an exterior wall assembly rarely is. Then we build exactly what the assessment specifies and keep the documentation for your file.

04

Infection-control finishes that hold up to cleaning

Sealed, non-porous, cleanable surfaces. Sheet flooring with welded seams and coved bases, solid-surface counters without dirt-catching joints, hands-free fixtures, and a sterilization run laid out to move dirty to clean in one direction. Finishes get selected for what they survive being wiped down with several times a day, not for how they photograph on day one.

05

Accessibility, privacy and the reception counter

Reception is where privacy meets millwork: a counter you can talk across without the waiting room hearing the conversation, plus a lowered accessible section. Add a barrier-free washroom, corridor and door widths that work for a wheelchair or a stretcher, and clear turning space in at least one consult room. Patients with mobility needs are a meaningful share of most practices — designing for them is not a compliance chore.

06

Building around a practice that is still seeing patients

Renovating an operating clinic means sealed hoarding, negative air, HEPA filtration, daily cleanup, and noisy work scheduled around your appointment book rather than our convenience. We coordinate the phasing with your office manager week by week. The measure of a good clinic renovation is that your patients never had to be told about it.
How it runs

How a clinic build runs

Same discipline every time, tuned to what this sector actually needs.

  1. Step 01

    Start from the equipment list

    Chair count, imaging, sterilization, vacuum and compressor, and who supplies them. We get the rough-in drawings from your equipment vendor before we design the mechanical layout, because those documents are the real drawing set.

  2. Step 02

    Plan the clinical core, then the rest

    Operatories, sterilization and the mechanical room get laid out first, with the service chase drawn deliberately. Reception, waiting, consult and admin space fits around a clinical core that works, not the reverse.

  3. Step 03

    Permits, assessments and vendor coordination

    Building permit and mechanical and plumbing applications, the radiation-protection assessment where imaging is involved, and a coordination round with your equipment, IT and low-voltage vendors so their requirements are in the rough-in.

  4. Step 04

    Rough-in, inspected, then closed

    Framing and blocking, then water, drain, vacuum, air, power and data to every operatory position, HVAC and any dedicated exhaust, then shielding installed and verified. Everything gets inspected before drywall — a clinic is the wrong building to open a wall back up in.

  5. Step 05

    Finishes, equipment install, commissioning

    Cleanable finishes and casework, then your equipment vendor installs against our completed rough-ins. Final inspections, a documented handover including shielding records and as-builts, and a punch list closed before your first patient.

Questions

clinic build-out FAQ

The questions owners in this sector actually ask us. Answered straight, including the ones where the answer is “it depends”.

How long does a dental or medical clinic build take?

From a bare shell, plan on roughly four to six months on site for a multi-operatory practice, with design, permits and the equipment coordination adding meaningful time in front of that. Renovations of an existing suite depend almost entirely on whether the mechanical rough-ins can stay. The equipment delivery date is often the real constraint, so we build the schedule around it rather than pretending otherwise.

What drives the cost of a clinic build-out?

Operatory count is the biggest lever — each one carries plumbing, vacuum, air, power, data and cabinetry. After that: imaging and shielding, the mechanical system and whether the base building can support a clinic’s ventilation needs, casework, and infection-control-grade finishes. A second-floor shell with no plumbing stack nearby is a very different project from a former clinic.

Do you work with our equipment supplier?

Always. You choose the supplier — you are living with their service relationship — and we coordinate directly with them from design onward. We need their rough-in drawings and equipment schedule early, and we set their install date against our schedule so the room is genuinely ready when their crew arrives.

Can we keep the practice open during a renovation?

Often yes, in phases, with sealed hoarding and negative air to keep dust out of clinical areas and noisy work scheduled around your appointment book. It takes longer and costs more than closing, and for some scopes — a mechanical replacement, for instance — it is not realistic. We will tell you plainly which category your project is in.

Who handles the shielding for the imaging room?

A qualified consultant produces the radiation-protection assessment that specifies what shielding is required and where; we build to that specification and keep the records for your file. We will not eyeball lead thickness or copy what we did on the last job, because the answer depends on your equipment, your workload and what is on the other side of the wall.

Can the space be designed to add chairs later?

Yes, and it is one of the cheapest decisions you will make. Stubbing services to future operatory positions and sizing the vacuum, compressor and electrical for the eventual chair count during the first build costs a fraction of coming back later. We ask about your five-year plan during design for exactly this reason.

Start your build

Tell us about your space. We'll tell you what it takes.

Tell us about the unit and the date you want to open. We'll walk it with you and tell you what your clinic build really takes.